
I'm seeing Valentine's day in a completely different light this year. After scrolling through page after page of Valentine ideas (to get some inspiration), I realized something. Valentine's day has turned into yet another way for us to celebrate the men and children in our lives.
And you know what? That's wrong.
Let me explain. Don't men and kids have enough holidays to call their own already? Christmas, Easter, Father's day, Halloween, Thanksgiving (come on, you know this is for them, too. I don't hear men discussing turkey recipes every year). So what holidays does that leave us with -- the ladies? Mother's day? Thanks, Hallmark, but that still alienates a lot of us as you kinda gotta be a mother for that one.
So I'm taking back Valentine's day. If there's any event that should be 100% about celebrating the lady in your life, it should be this one. I've gotten a few diys ready for Valentine's day, but they are specifically for things that I would want or things that I need or that I like.
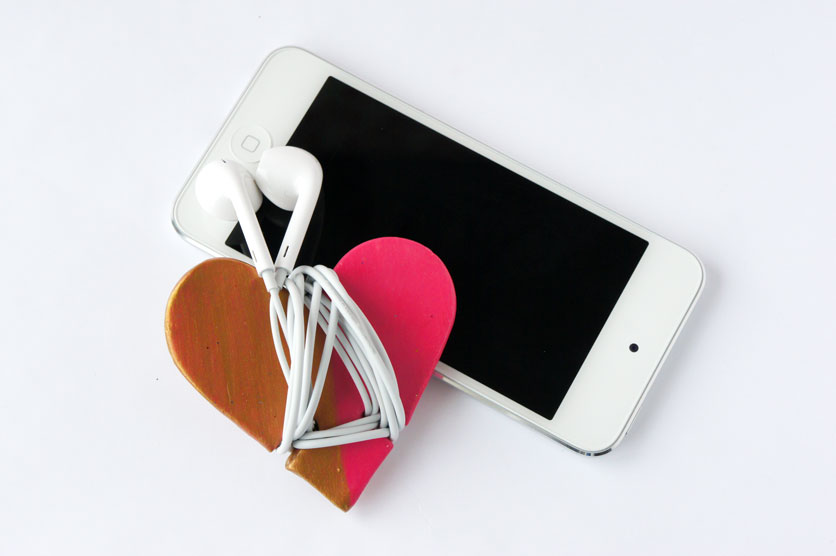
And that's where this little headphone cord wrap comes in. I was getting tired of finding my earbuds in a jumbled mess in the bottom of my bag and one thing I really wish had been included with my new iPod was the little headphone case that Idle Husband got with his iPad. It's a really nice way to keep and store earbuds, and I wanted to have something like this, too.
I spotted a tutorial for a gingerbread earphone cord keeper (which looks like a tiny way to adjust the cord length on earphones) and that's when inspiration struck. I just needed something bigger.

I used Crayola's air dry clay (which I've been using for so many projects lately). Just take a good chunk of it and roll it out flat. You don't want to roll it out too thin. The thickness needs to be pretty substantial to keep the heart flat while the clay dries and also to give it some strength. Remember, this is going to hold a wrapped cord and be floating around in your purse soon!
Grab a heart-shaped cookie cutter (or any cutter you want, really) and punch out the heart shape. Carefully remove the extra clay from around the heart.
{good to know} I almost always make more than one clay item when I'm working with this medium (you can see the extra hearts in the top photo). If anything should go wrong during any stage, I have a back-up. The drying process is a little time consuming and it really sucks to have to start all the way back at the beginning! (Besides, the extras I make usually serve as testers for paint colours or techniques and if they still turn out pretty good, they can also be gifts!)

Next use a straw or something similar to punch two holes into the sides of your heart. Punch them around the middle of the heart and kind of close to the sides. Just make sure to leave enough room at the bottom so there's enough of the heart stem left. You don't want that snapping off later!

Use a knife to cut out little notches that go into the holes you just created. This is where the cords will slip in.
Now you're going to want to let your heart dry at least overnight.

In the morning, grab a damp sponge and use it as a sanding tool to round the edges and buff off any sharp bits of clay.
I left mine to dry for another day after this sanding.
Once dry, you can paint it however you like or leave it plain. I used a watercolour paint for the pinkish red hue and I used an acrylic for the gold dip. Then seal the whole thing up with a coat of mod podge. (I definitely have to buy some more podge. Mine has glitter in it from the dinosaurs!)
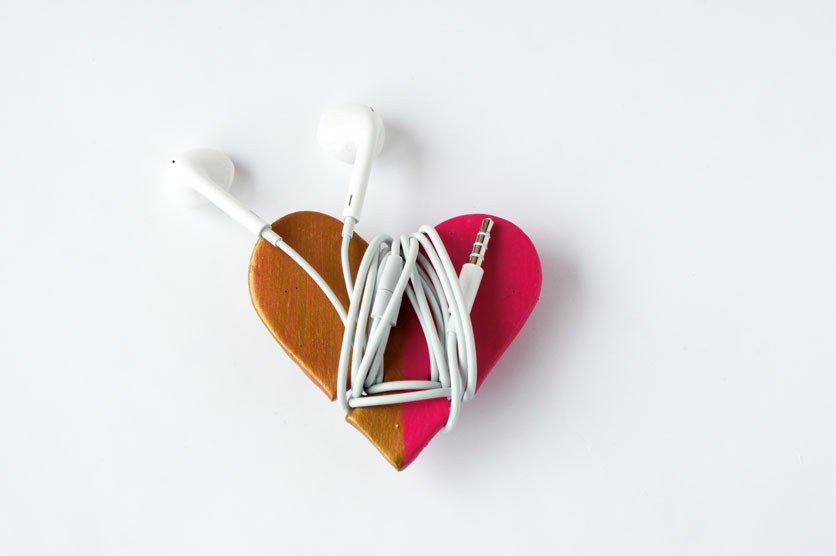
Once everything is completely dried and cured, wrap your headphones around the heart and stuff it in your purse!

This is going to be so handy and it's exactly what I wanted! Thanks, me!
4 comments:
Love it! I never even considered making my own cord wrap. You're so clever!
great idea! I could really use this
I absolutly love DIYs. Like i told you i'll make my own version of soon ! I hope to be done by nect week or so. As soon as i finish it ill send you :) Thanks for the inspiration!
Avec amour, Camilla
suddenlyhere.blogspot.com
clever and cute!
Post a Comment